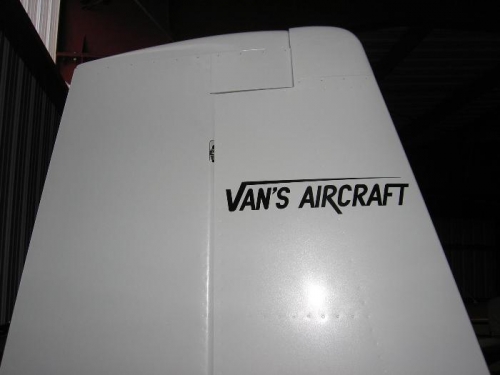
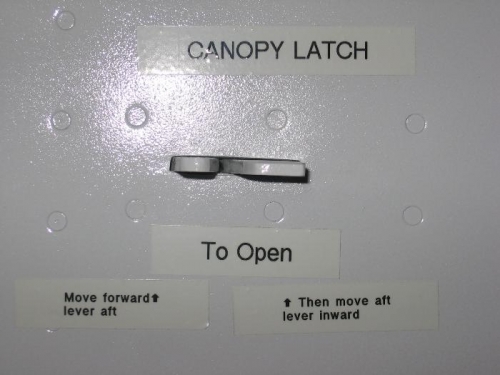
Today was a day of mixed job items. I started with installing placarding on the tail and the fuselage. Next I noted some brake fluid under the brake pedals and investigation revealed two fittings just not tight enough one of which required brake line removal which in turn required another brake bleeding of the left brakes. Then I also noted the plexiglas cracking around the rear window forward line of fastener holes so I removed the rear window to check all the other fastener holes. They all seemed okay but the cracking of the forward row of fasteners will mean I will need to replace the window. I need to consult with Van's on this because the cracking of the plexiglas only started after numerous cold nights in the hangar at the airport. I decided to drain the engine preservative oil to get the engine ready for its first start. While the oil was draining I set up to time the electronic magnetos from E-magair. Niether P-mag would however enter the setup mode as stated in the installation manual so I'll also need to call E-magair Tech Support for consultation. Once the preservative oil was fully drained from the engine I filled the engine with 20W50 mineral oil for the break in period.
Van's Aircraft Logo installed on the vertical stabilizer
Canopy latch placarding installed inside and outside